Accessing the configuration system
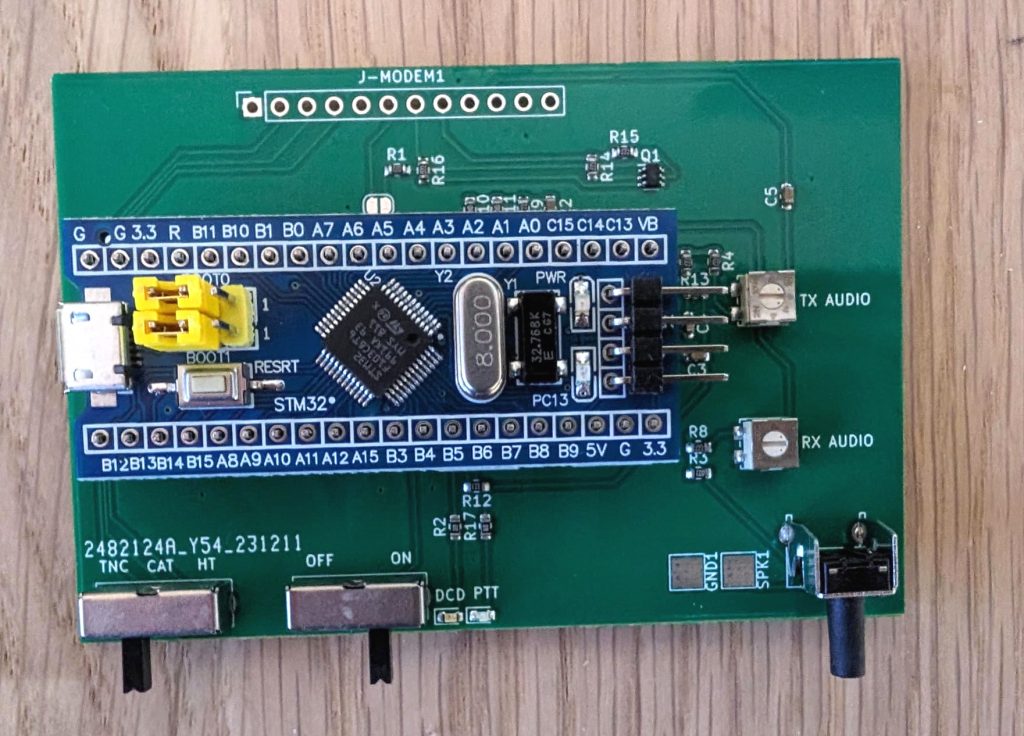
The APRS card has a micro-controller running the VP-Digi software. This software is accessed via the serial port in the Universal Radio Controller (URC).
Set the URC front panel switches to TNC on the left switch and ON on the right switch,
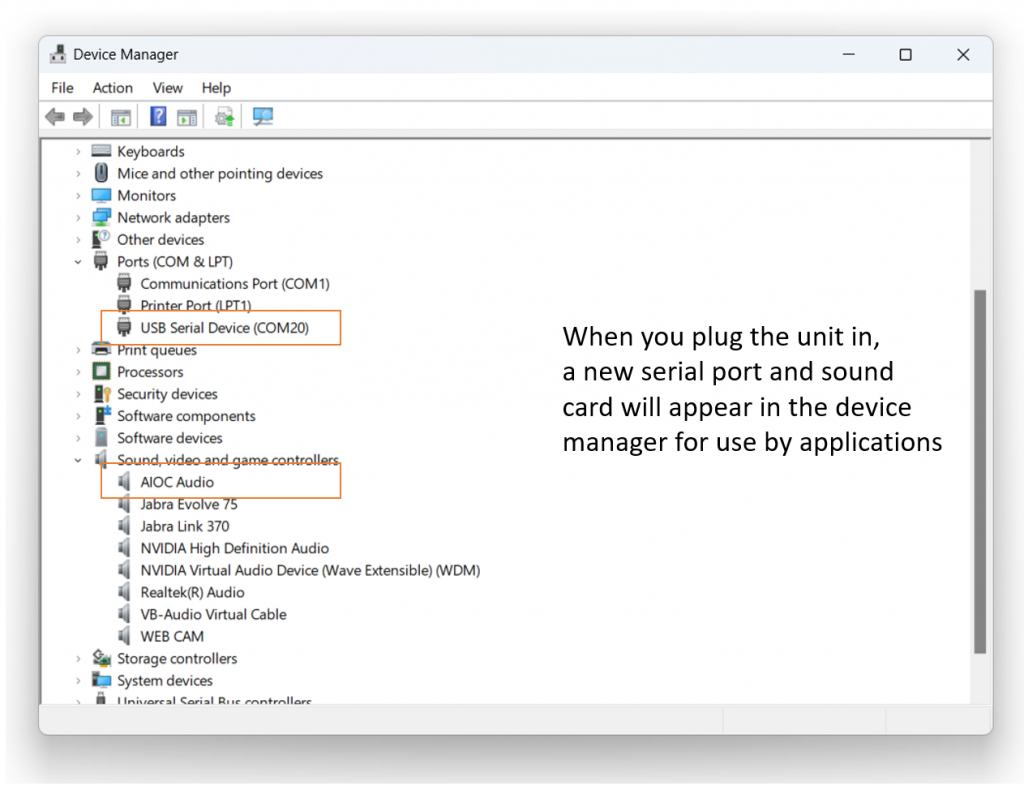
To determine the COM number of your serial port, use the Device Manager in Windows
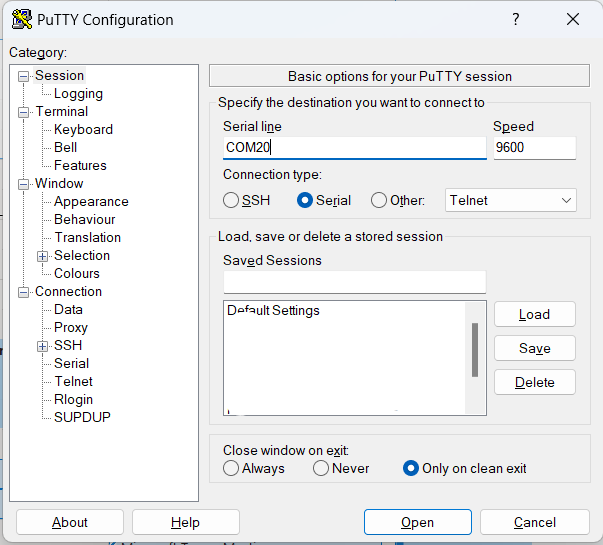
Connect to the serial port using software such as PuTTY
PuTTY is available for free download here https://putty.org/
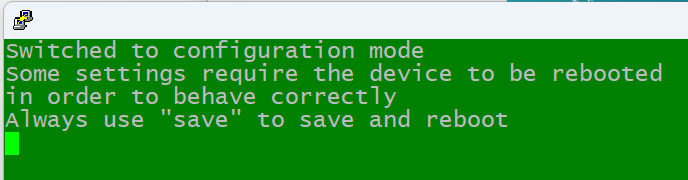
When PuTTY is started the screen will be blank. Press the enter key a few times to reset the port, and then type the word config in lower case to get the configuration message from the VP-Digi software. (the letters for ‘config’ will not show on the screen when typed).
Setting up audio levels
Setting the audio levels requires a radio connected to the URC such as an HT plugged into the front panel HT ports. A second radio is needed to listen to the transmitted audio.
There are two potentiometers on the APRS board, clearly labeled for TX AUDIO and RX AUDIO
Setting TX Audio Levels
Signal calibration requires an FM receiver tuned to the same frequency as the transmitter. Enter monitor mode (using the monitor command) and enable high tone transmission (using the cal high command).
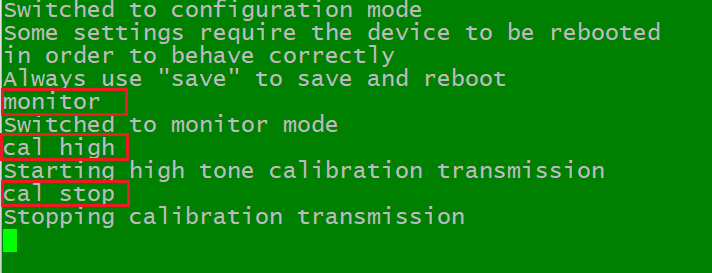
Set the TX AUDIO potentiometer on the APRS board to the minimum amplitude level position (anti-clockwise) and then slowly increase the level while carefully monitoring the signal strength in the receiver, which should increase. At some point, the signal level will stop increasing. At that point, gently retract the TX AUDIO potentiometer a fraction of a turn, and switch off the calibration mode (using the cal stop command). After this operation, the transmitter should be correctly driven.
Setting RX Audio Levels
To set received audio levels requires the presence of APRS (or Packet Radio*) transmissions over the air. Use a receiver to monitor local APRS frequencies to ensure transmissions can be heard and used for calibration.
*(see the section below to enable reception of Packet Radio frames)
Volume levels are best managed by using the volume control on the radio.
Start the process by setting the RX AUDIO control fully clockwise to maximum, then reduce the volume on the radio to get to the desired levels. If you are unable to reduce the volume satisfactorily using the radio control, then use the RX AUDIO control to attenuate this on the APRS board.
The monitor function of the VP-Digi software provides good guidance for this process:.
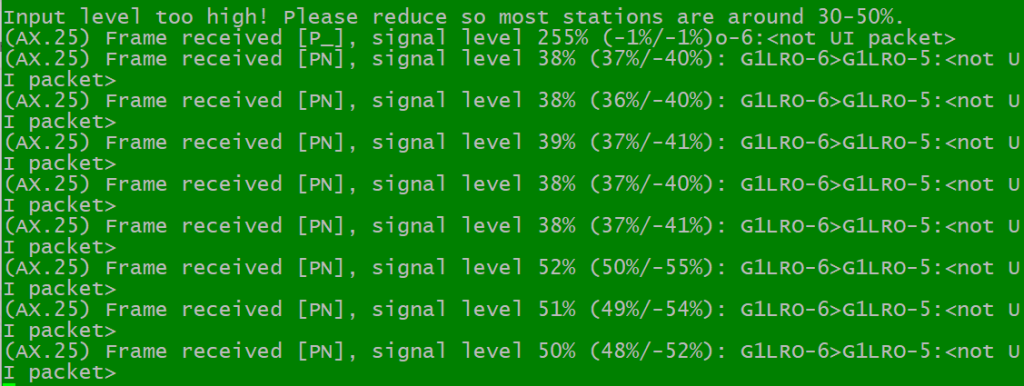
Aim for around 50% signal level to provide for a variance of incoming signals.
Initial configuration & Packet Radio
Ensure the VP-Digi is in the configuration mode by typing the word config in lower case to get the configuration message from the VP-Digi software.
There are two key settings required to enable the use of the VP-Digi as a KISS Packet Modem:
- Set your call sign:
the the command ‘call’ to set your call sign and a SSID (an additional identifier so you can use your call sign on multiple devices). For example:
call G1LRO-5
Always save the config after changing the call sign and other settings:
save
(sometimes after saving, the ‘config’ command needs to be re-entered to return to config mode) - Enable Packet Radio
By default, the VP-Digi only decodes APRS packets, to enable regular Packet Radio frames to be decoded, enter this command:
nonaprs on
an OK response will confirm the change, then
save
The audio levels and Packet Radio configuration setup is now complete.
Using a Packet Radio (KISS) application to make contacts
A simple terminal utility QtTermTCP is available to works well with the URC and VP-Digi board. It’s available from this link: LINK
Ensure no other application is using the URC serial port (i.e. PuTTY) as this will prevent QtTermTCP from communicating with the VP-Digi.
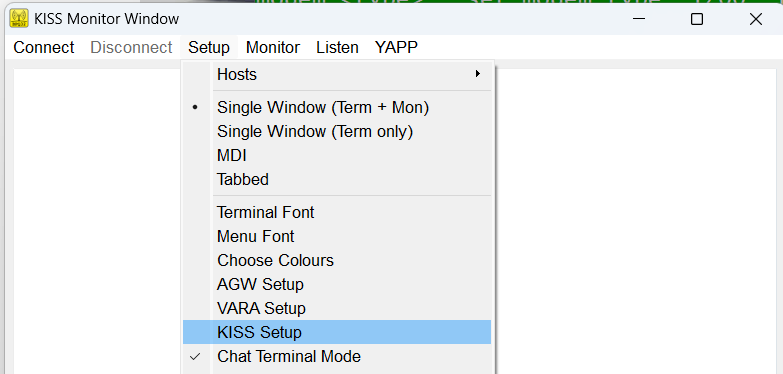
Once installed, go to the Setup tab and select KISS Setup
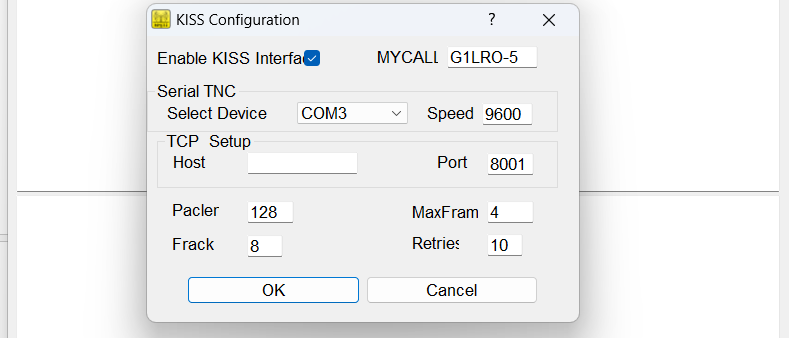
Configure the Serial TNC settings to use the COM port of the URC snd speed 9600. The TCP settings are not required so leave unchanged:
Note, when QtTermTCP starts up, it may place the URC and the Radio into transmit mode immediately. This state clears after the first transmission and is caused by the QtTermTCP asserting the RTS signal on the serial port.
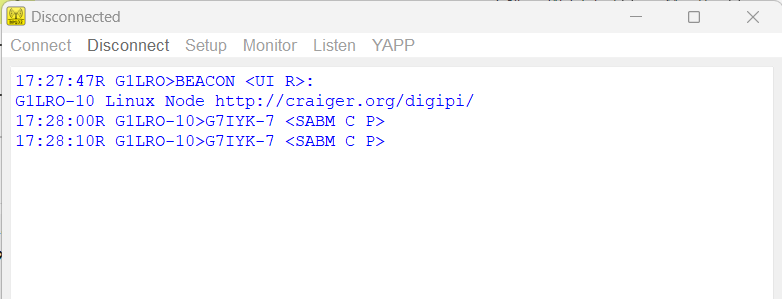
In QtTermTCP the upper window shows general traffic the radio that VP-Digi can hear
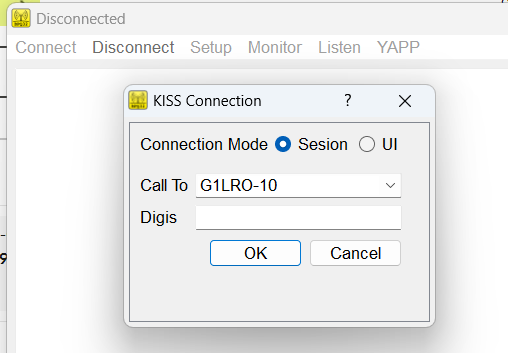
To initiate a connection to another station use the Connect menu to call a station, and specify any digipeaters in the chain.
When connected to a station, data transmitted from the VP-Digi is in red, and received data is in blue:
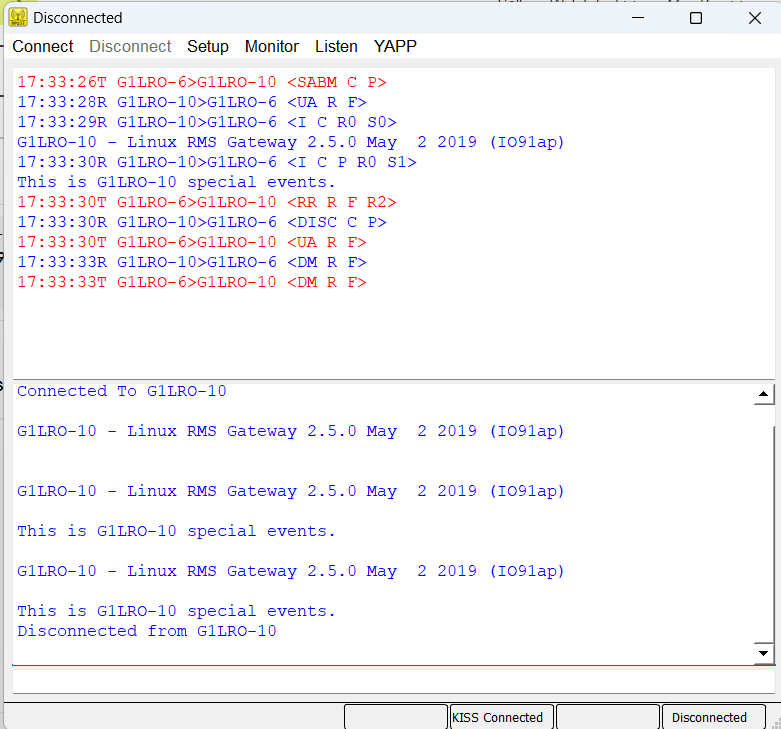
When a successful connection has been established, the setup for Packet Radio is completed.
To configure an APRS digipeater, this next blog covers the process:
APRS Board How-to 2: Setting up an APRS Digipeater